Reader-supported: this guide may contain affiliate links. If you buy through them I may earn a commission at no extra cost to you. How this works.
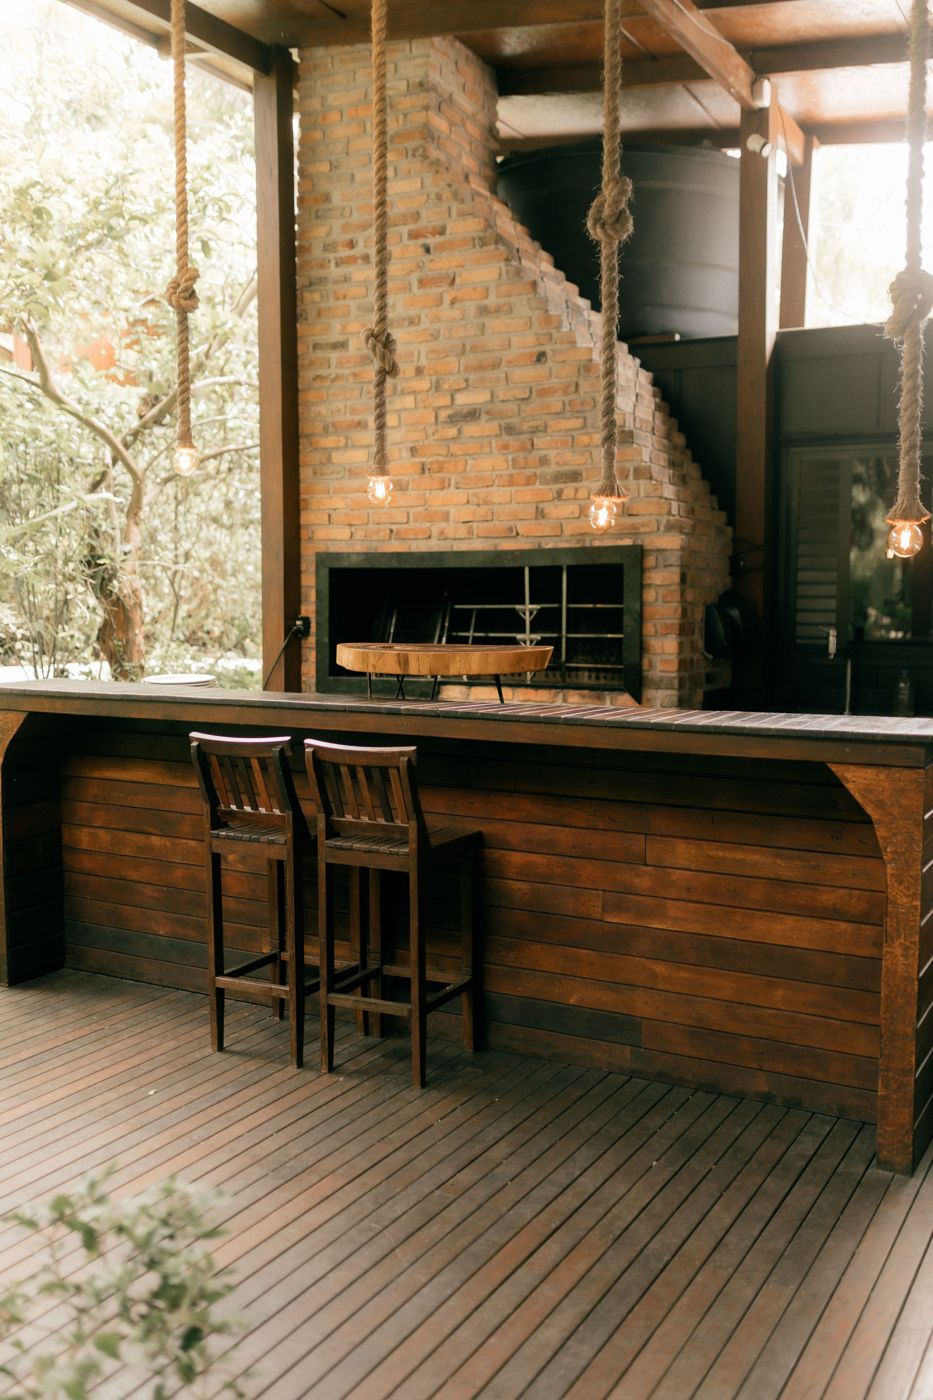
The quick answer
- Plan first: choose your grill before you build, and design the island around its exact dimensions.
- Build on a solid base: a level concrete slab or an existing sound patio.
- Use non-combustible materials around the heat: blocks, brick, stone or steel framing with cement board.
- Gas? Use a Gas Safe registered engineer for any fixed gas supply, and vent the cupboard where the bottle sits.
- Budget: a simple DIY island is often achievable for under £1,000 before the grill.
A BBQ island turns a freestanding grill into a proper outdoor cooking station, with worktop space either side, storage underneath and somewhere for guests to lean. I built my own composite deck, so I know how satisfying (and how slow) a garden build can be. This guide covers the most common DIY method in the UK: concrete blocks on a solid base, rendered or clad, with a stone or concrete worktop.
Step 1: Plan the island
- Pick the grill first. Built-in gas grills come with a cut-out size. Kamados and kettles can sit in a recess or on top. Get the exact measurements before you buy a single block.
- Size it. A typical island is around 90cm high (standard worktop height), 60–75cm deep, and 1.8–2.5m long. Allow at least 40–60cm of clear worktop on each side of the grill.
- Choose a shape. Straight is easiest. An L-shape adds prep space and a natural bar area but needs more materials.
- Think about position. Keep it clear of fences, sheds, overhanging trees and windows. Check the prevailing wind so smoke drifts away from the house and neighbours.
- Sketch it. Draw a plan and a front elevation with block courses marked. It makes ordering far easier.
Our free outdoor kitchen planner has a layout grid and checklist you can print out.
Tools and materials
| Tools | Materials |
|---|---|
| Spirit level (long and short) | Concrete blocks (standard 440 × 215 × 100mm) |
| Builder's line and pins | Building sand and cement (or ready-mixed mortar) |
| Trowel, pointing trowel | Ballast and cement for the base, or ready-mix concrete |
| Angle grinder or block splitter | Lintels or steel angle for openings |
| Cement mixer (hire) | Render, brick slips, stone cladding or timber cladding |
| Tape measure, square, chalk | Worktop: concrete, granite, porcelain or sintered stone |
| PPE: gloves, goggles, dust mask | Outdoor doors or vents for the cupboards |
Handy kit from Amazon
- FFP3 dust masksFor cutting blocks and mixing cementView on Amazon
- Stainless steel outdoor kitchen doorsRot-proof cupboard doors for the islandView on Amazon
- Air bricks or ventsLow-level ventilation for a gas bottle cupboardView on Amazon
- Long spirit levelKeeps every course of blocks trueView on Amazon
As an Amazon Associate I earn from qualifying purchases.
Step 2: Prepare a solid base
Everything depends on the base. A BBQ island is heavy, and blocks will crack if the ground moves.
- Existing patio? If it's sound, level and laid on a proper sub-base, you can usually build straight onto it. If slabs rock or sound hollow, lift them.
- New base: mark out the footprint plus about 10cm all round. Dig out roughly 20–25cm.
- Sub-base: lay and compact around 10cm of MOT Type 1 hardcore. Hire a plate compactor.
- Concrete: pour around 10cm of concrete into timber formwork, level it with a straight edge, and let it cure for at least a few days before building on it.
Step 3: Build the block walls
- Set out the first course. Dry-lay the blocks, check the measurements against your grill, then mark the lines with chalk.
- Lay the first course on a mortar bed. This course has to be perfectly level, so take your time. Use a builder's line between the corners.
- Build up the corners first, then fill between them, staggering the joints (half-bond) for strength.
- Check level and plumb every course. Small errors grow quickly.
- Span openings for cupboards and the grill with concrete lintels or galvanised steel angle.
- Stop at the right height. Allow for the thickness of your worktop so the finished height is around 90cm.
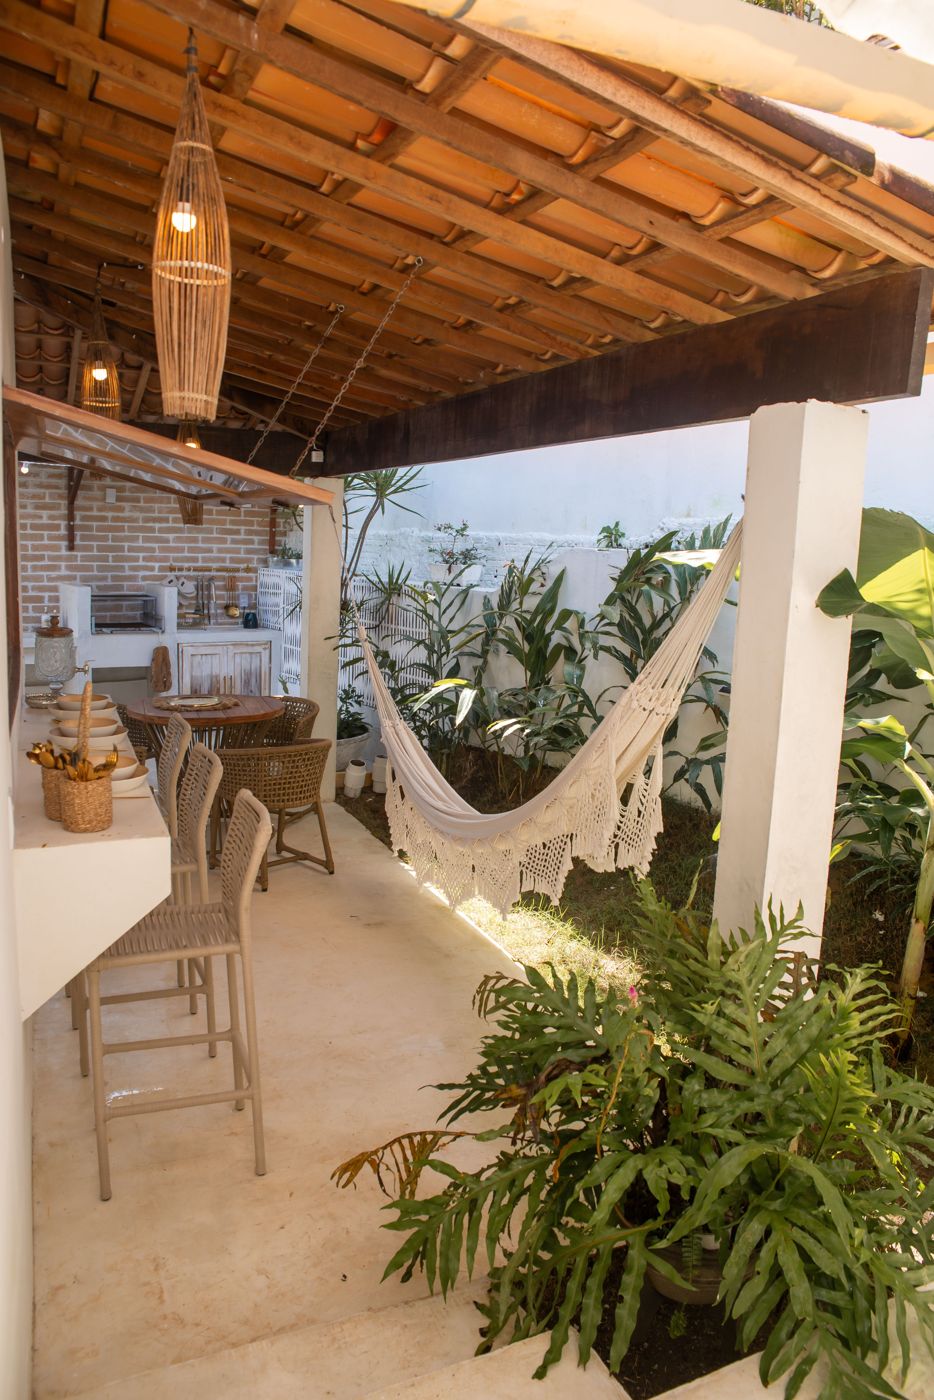
Step 4: Gas, electrics and ventilation
- Bottled gas is the usual DIY route: the bottle sits in a cupboard under the worktop. That cupboard needs permanent low-level ventilation, because LPG is heavier than air and pools at the bottom of an enclosed space. Follow your grill manufacturer's instructions on hoses and regulators.
- Fixed gas pipework (from the house or mains supply) must be installed by a Gas Safe registered engineer. This is a legal requirement, not just good advice.
- Outdoor electrics for sockets, lights or a fridge should be installed by a qualified electrician with RCD protection and outdoor-rated fittings. In England and Wales, new outdoor circuits usually fall under Part P of the Building Regulations.
- Plan cable and pipe routes before you build, so you don't have to chase into finished walls later.
Step 5: Fit the worktop
Your worktop takes heat, rain, frost and the odd dropped burger. Common UK choices:
- Poured or precast concrete: cheap and very tough. Seal it to resist grease stains.
- Granite: handles heat and frost well, and looks great. Cut-outs need a fabricator.
- Porcelain or sintered stone: very stain and UV resistant. Brittle while you're handling it, so get help.
- Outdoor-grade paving slabs: the budget option. Fine for a rustic look.
Bed the worktop on mortar or a suitable adhesive, give it a slight fall away from the grill so rain runs off, and leave a small overhang (around 2–3cm) at the front.
Step 6: Finish and clad
- Render: the cheapest neat finish. Use a through-coloured or masonry-painted render designed for outdoor use.
- Brick slips or stone cladding: a premium look without full brick walls.
- Timber cladding: warm and modern, but keep it well away from direct heat, and leave an air gap behind it.
- Doors: stainless steel access doors are made for outdoor kitchens and won't rot.
Add a cover for the grill and, ideally, some shelter overhead. A pergola or canopy makes the island usable for far more of the British year.
How much does a DIY BBQ island cost?
Very roughly, for a straight island around 2m long:
| Item | Typical range |
|---|---|
| Base (if needed) | £100–£300 |
| Blocks, sand, cement, lintels | £150–£400 |
| Worktop | £100 (slabs) to £1,000+ (granite) |
| Cladding or render | £100–£600 |
| Doors and vents | £80–£400 |
| Tool hire | £50–£150 |
Material prices vary by region and supplier. Get a few quotes from builders' merchants. For the bigger picture, see outdoor kitchen costs in the UK.
Frequently asked questions
Do I need planning permission for a BBQ island?
Usually not. Most garden structures like this fall under permitted development, but listed buildings, conservation areas and structures close to boundaries can have restrictions. If in doubt, check with your local council.
Can I build a BBQ island on decking?
It's not ideal. Block islands are very heavy and need a concrete base. On decking, consider a lightweight steel-framed island with cement board, and check the deck can take the weight.
Can I put a charcoal kettle in an island?
Yes. Many people build a recess or a ledge for a kettle or kamado. Leave airflow around the vents and room to lift the lid and remove ash.
How long does it take to build?
For a confident DIYer, allow a weekend for the base (plus curing time), then one or two weekends for walls, worktop and finishing.

Home cook, keen DIYer and long-time website builder, writing practical outdoor cooking guides for UK gardens. More about me.